Reemplazar un pista de miniexcavadora Es una operación altamente especializada que requiere no solo operadores cualificados, sino también la preparación de herramientas adecuadas y especificaciones de operación seguras. Las orugas son una parte importante de la excavadora y afectan directamente la eficiencia y la seguridad del equipo. Por lo tanto, es fundamental saber cómo reemplazar las orugas de una miniexcavadora de forma segura y sin problemas.
Preparación para el reemplazo de una oruga de miniexcavadora
Antes de comenzar a reemplazar la pista, debe realizar los siguientes preparativos:
Determinar las herramientas necesarias
- Jacobo: Se utiliza para levantar la excavadora de manera que la oruga quede por encima del suelo.
- Gato hidráulico: Si se requiere más fuerza para levantar la excavadora, los gatos hidráulicos son más eficientes.
- Herramientas para eliminar pistas: Generalmente incluyen llaves inglesas, destornilladores, llaves dinamométricas, etc.
- Partidos: Se utiliza para fijar el equipo al retirar y reemplazar la pista para evitar accidentes.
- Aceite lubricante o grasa: Se utiliza para lubricar las juntas y poleas de la pista para garantizar el funcionamiento suave de la pista.
- Equipo de seguridad: incluyendo guantes de trabajo, cascos, gafas protectoras, etc. para garantizar la seguridad de los operadores.
Consulte las especificaciones de la nueva pista
- Antes de reemplazar el riel, asegúrese de que las especificaciones del nuevo riel coincidan con las del riel original, incluyendo dimensiones como ancho, largo y grosor. Si tiene dudas, puede consultar el manual de usuario del equipo o contactar al proveedor.
Garantizar un entorno de trabajo seguro
- Limpie el área de trabajo y asegúrese de que no haya obstáculos.
- Asegúrese de que no haya peligros potenciales como fugas de líquidos y cables en el entorno circundante.
- Utilice equipo de protección adecuado cuando trabaje para evitar lesiones al operador.
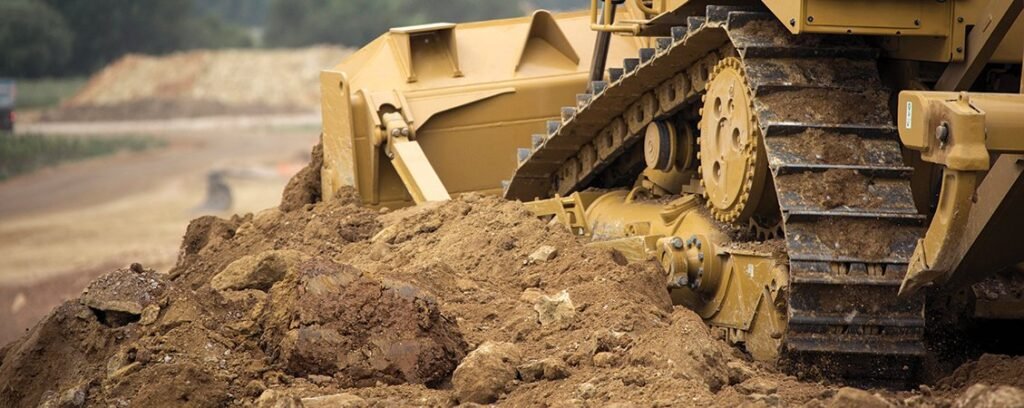
Pasos reales para reemplazar la pista
Levantar la excavadora
- Primero, detenga la excavadora, asegúrese de que el equipo esté apagado y de que el terreno sea plano y estable. Utilice un gato hidráulico para levantar un lado de la excavadora de modo que la oruga quede en el aire y garantice suficiente espacio de operación.
Quitar la pista vieja
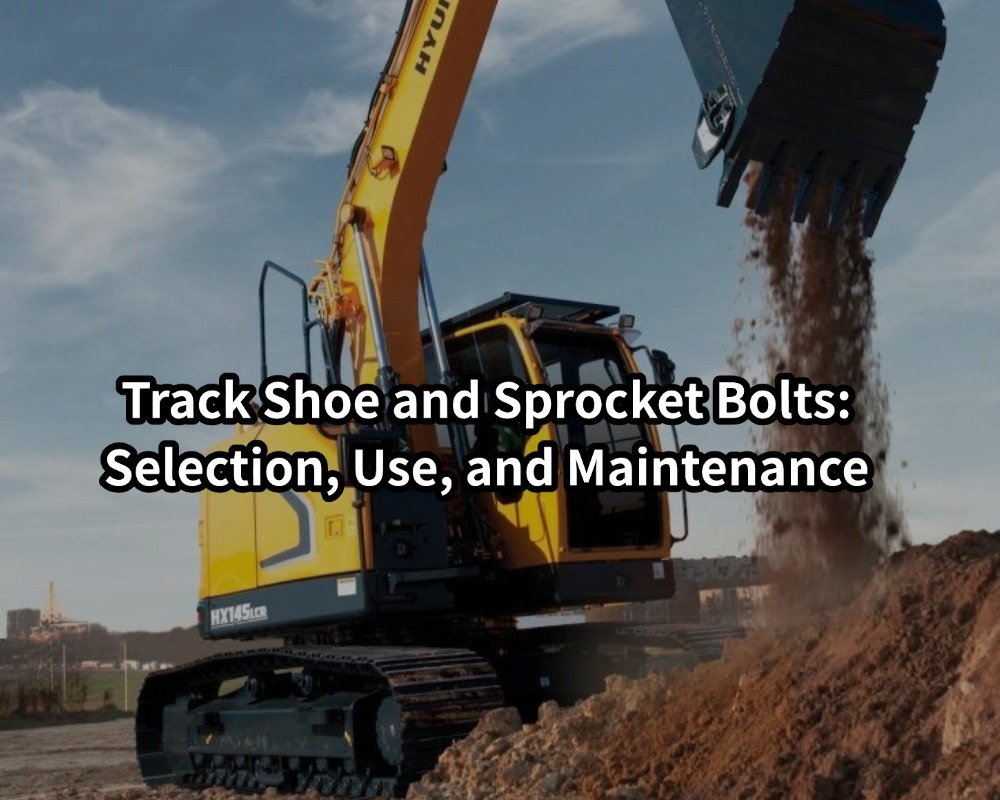
- Aflojar el pernos de oruga: Utilice una llave inglesa o una herramienta neumática de tamaño adecuado para aflojar los pernos de la vía. Durante el proceso de extracción, asegúrese de usar una llave dinamométrica para evitar dañar las roscas.
- Quitar la pista: Deslice con cuidado la pista suelta hacia afuera, teniendo cuidado de no hacer palanca con fuerza para no dañar otras piezas.
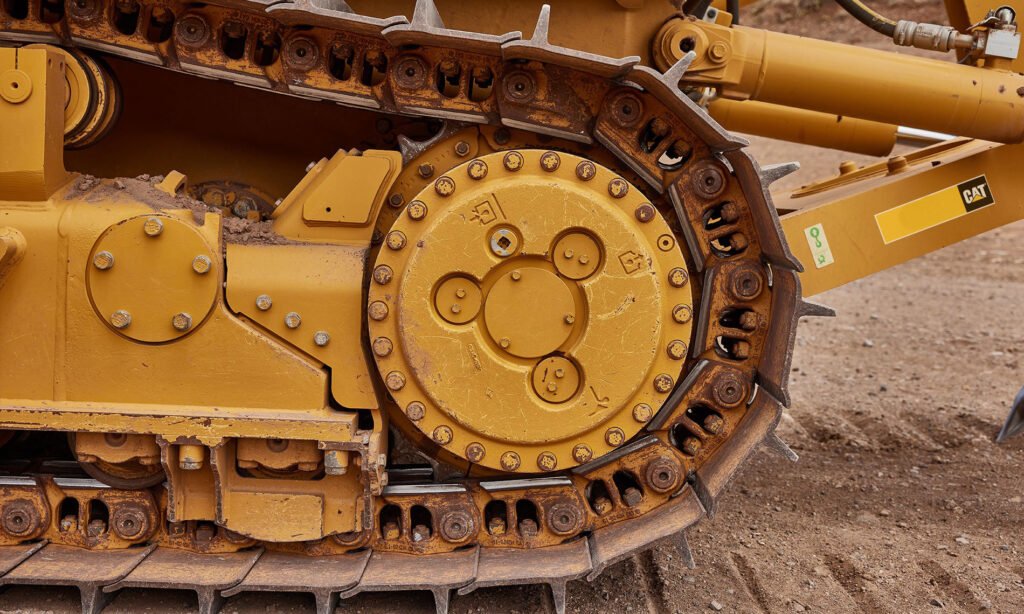
- Comprueba el conjunto de vías: Al desmontar, verifique el desgaste de las piezas relacionadas (como ruedas motrices, ruedas guía, ruedas de apoyo, etc.) y reemplácelas a tiempo si es necesario.
Instalar la nueva pista
- Colocar la nueva pista: Coloque con cuidado la nueva oruga en la parte inferior de la excavadora, asegurándose de que la oruga esté alineada con todas las partes relacionadas, especialmente las ruedas motrices, las ruedas guía y las ruedas de soporte.
- Arreglar la pista: Fije la nueva oruga al bastidor de la excavadora mediante pernos u otros métodos de conexión. Asegúrese de que todos los pernos estén apretados y distribuidos simétricamente para evitar daños en la oruga debido a una instalación incorrecta.
- Compruebe la tensión: Tras instalar la oruga, utilice un tensor para comprobar si la tensión es la adecuada. Una oruga demasiado tensa o demasiado floja afectará su vida útil y la eficiencia de la excavadora.
Inspección y pruebas
Después de instalar la nueva pista, realice las siguientes comprobaciones:
- Compruebe los pernos y conectores: Asegúrese de que todos los pernos estén bien apretados y que no haya holgura en los conectores.
- Compruebe la estabilidad de la pista: Ponga en marcha la excavadora, conduzca lentamente durante unos pasos y observe si la oruga gira con normalidad y si hay algún ruido o vibración anormal.
- Compruebe el sistema de lubricación: Verifique la lubricación entre la pista y cada componente para asegurarse de que haya suficiente aceite lubricante o grasa para evitar fricción y desgaste excesivos.
Problemas y soluciones comunes
Ruido anormal después de la instalación de la pista
- Posibles razones: pernos flojos, tensión desigual de la oruga, rueda guía o rueda motriz dañada.
- Solución: Verifique el apriete de los pernos y conectores, ajuste la tensión de la oruga, verifique el desgaste de la rueda motriz y la rueda guía y reemplace las piezas si es necesario.
Pista asimétrica o inclinada después de la instalación
- Posibles razones: La pista no está instalada correctamente o la rueda de soporte y la rueda guía no están centradas.
- Solución: Vuelva a verificar la alineación de instalación del riel para asegurarse de que todos los componentes estén en la posición correcta.
La tensión de la oruga es demasiado fuerte o demasiado floja
- Posibles razones: Ajuste de tensión inadecuado.
- Solución: Utilice herramientas de tensión para realizar un ajuste preciso para garantizar que la tensión de la oruga cumpla con los requisitos del fabricante.
Precauciones de seguridad
Durante el proceso de reemplazo de la vía, la seguridad es siempre lo más importante. Aquí hay algunos consejos para una operación segura:
- Mantenga siempre el equipo estable: Al utilizar el gato, asegúrese de que el equipo esté en un estado estable para evitar accidentes causados por la inclinación del equipo.
- Evite el contacto directo: Al operar la oruga, evite colocar las manos o el cuerpo entre la oruga y el equipo para evitar aplastamiento.
- Utilice las herramientas adecuadas: Asegúrese de utilizar herramientas que cumplan con las especificaciones para evitar fallas en el trabajo o daños en el equipo debido a herramientas inadecuadas.
- Revise la pista regularmente: Incluso si se ha reemplazado la pista, aún así se debe verificar su estado periódicamente para garantizar que el equipo no presente anomalías durante su uso.
Reemplazar las orugas de una excavadora es una operación altamente técnica que requiere que el operador posea habilidades profesionales y amplia experiencia. Al comprender los pasos detallados de reemplazo, las herramientas necesarias y las soluciones a los problemas comunes, podrá mejorar eficazmente su eficiencia operativa y prolongar la vida útil de la excavadora. Lo más importante es seguir siempre las normas de seguridad para garantizar que cada trabajo se complete sin problemas.
| Obtenga una cotización rápida y gratuita | Correo electrónico: henry@gfmparts.com | WhatsApp: +86 17705953659 |


